DIY kitchen preparation
Now that your fully assembled, DIY kitchen has been ordered, it’s time to organise a few things before delivery. For a new build, it’s relatively easy. Trades like plumbers, electricians and tilers will be working on a clean site, and if everything is marked out and specified well, it should be smooth sailing. A renovation could be a bit more complicated and may create some unexpected situations. If you budget enough time for everything, it should all be fine.
But before you start, there are a few things to take care of.
1. Cull the contents
A renovation is the perfect opportunity to declutter. Cull ruthlessly and box the rest. Garbage bags for the trash, boxes to give away to friends or charities, and labelled boxes to retain items that are the backbone of your kitchen. Labelling makes it easier to fetch stuff and unpack in stages later.
2. Sell the old kitchen
One man’s trash is another man’s treasure. If the kitchen is still functional, it is worth selling it on, getting a bit of cash, and saving it from the landfill.
- You could use websites, classifieds, and social media.
- A few good images, measurements, and as much detail as you can provide will help bring in genuine buyers and reconditioning companies.
- Consider donating to a needy family, charity or community centre.
3. Switch off the utilities
Whether you are selling the kitchen or demolishing it, it is your responsibility to turn off the electricity, gas, and water.
- It is a good idea to get at least two quotes and ask for references. Use the same team for installation as well.
- Hire only licensed professionals and ask for a Certificate of Safety.

Now that your fully assembled, DIY kitchen has been ordered, it’s time to organise a few things before delivery. For a new build, it’s relatively easy. Trades like plumbers, electricians and tilers will be working on a clean site, and if everything is marked out and specified well, it should be smooth sailing. A renovation could be a bit more complicated and may create some unexpected situations. If you budget enough time for everything, it should all be fine.
4. Get the tools
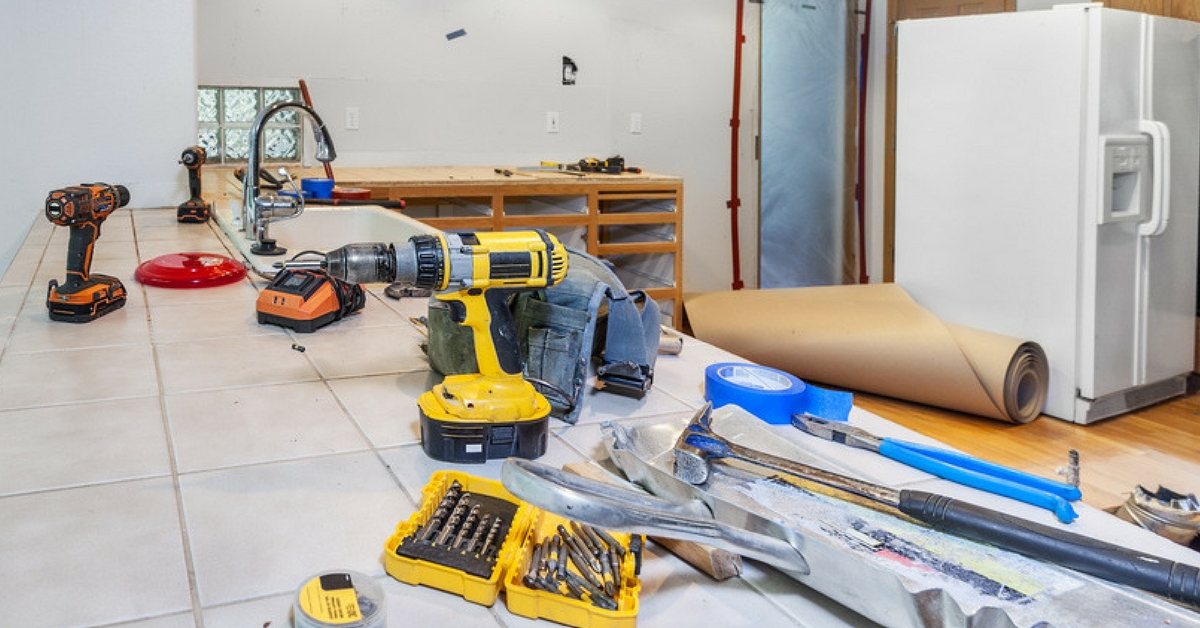
Here are some basic tools you may need to have, borrow or buy.
- To prise stuff off: screwdrivers, spanners, pliers, crow bar and pry bar
- To demolish: sledge hammer, claw hammer, bolster chisel and club hammer
- Electrical tools like a cordless drill, angle grinder or a rotary hammer can make the demolition faster and easier.
Tearing down the old kitchen
If you are tearing down the old kitchen, hire a skip, put on some protective gear – (safety glasses, gloves, dust masks and ear plugs) and you are ready to go. Switch off the utility mains and seal off the area best as you can. Not only will it prevent dust spreading elsewhere, it will keep family members from entering a work zone.
- Put protective covering on the floor, especially if you do not intend to replace it. There are several types of polymer and cardboard sheets available, custom designed to prevent floor damage.
- To minimise the disruption, do it in stages. Start from the fringes, working your way to the centre of the kitchen.
- Start with the overhead cabinetry.
- Remove all the cabinet doors, internal shelving etc. This will make the cabinets lighter and provide good grip when lowering them.
- Remove any caulking, moulds or fillers, carefully avoiding damage to the walls.
- Don’t take off the wall with the cabinets. There’s often more than just screws holding the kitchen cabinet to the wall.
- With the base cabinetry, take off the sink and benchtop first.
- Unplug the sink from underneath, lift it using a pry bar.
- Unscrew any benchtop screws and lift, again using a pry bar.
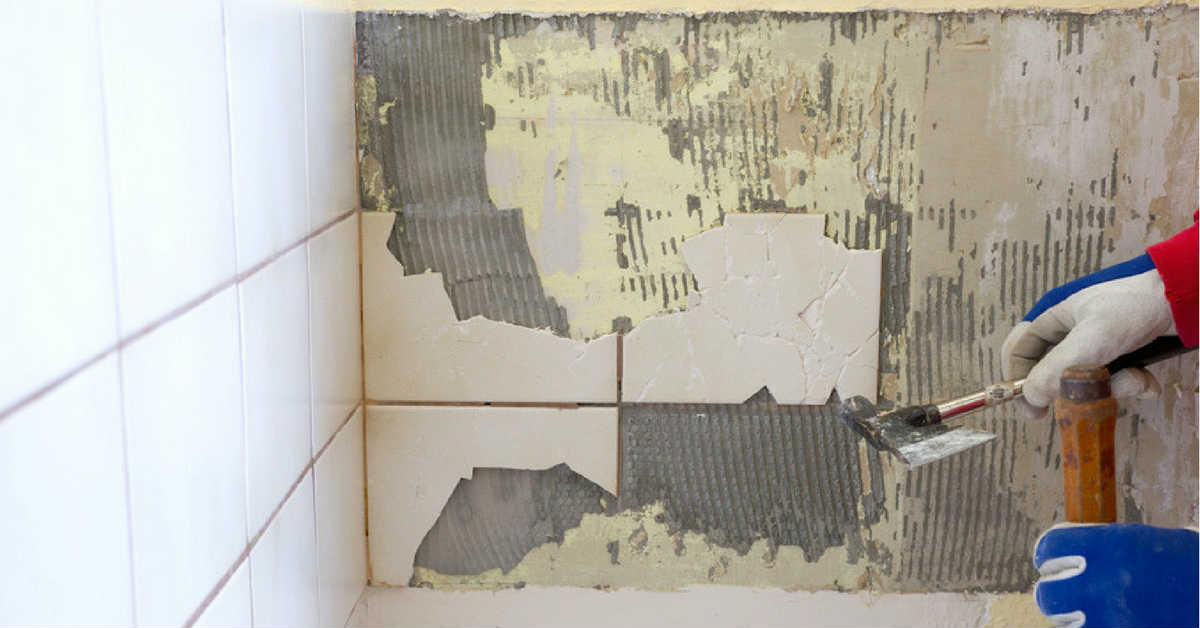
- Remove splashback tiles using a bolster chisel and hammer.
- Clean the debris as you go along to avoid tripping hazards and give yourself more room to work.
Preparing for your new DIY kitchen
Out with the old, in with the new.
- Check the floor. It must be level and flat. Hire a professional if it is significantly uneven.
- Check the walls using a spirit level. Check that parallel walls are indeed parallel.
- Check the right-angled corners. Get a professional to fix any gap greater than 6mm. This will ensure that new cabinets fit snug.
- Stripping away the old kitchen often damages the board so fix it all for a smooth finish. Remove all hanging screws and clean the walls with sugar soap.
- If you are putting in a new floor and repainting the walls, it is time to do it now.
Good preparation makes things a lot easier when the new kitchen arrives. Understand the timelines for a DIY kitchen renovation. Consider getting the kitchen professionally installed with qualified tradespeople. Your kitchen supplier should be able to recommend one approved by them. The kitchen comes fully assembled and the installer will ensure everything slots in correctly and securely. Now all you have to do is wait for your benchtop to be made and fitted, get the appliances professionally installed, and your new kitchen is ready to use!
